Cheese Balls Delight: From Bland to Grand With a Few Simple Twists
You've probably seen cheese balls at gatherings, often sitting somewhat ignored on the buffet table. But what if you could transform these simple appetizers into a gourmet centerpiece that captivates your guests? By incorporating unique cheeses like sharp cheddar or tangy blue, and experimenting with mix-ins like dried fruits or artisanal spices, you're set to elevate this classic. Consider the impact of texture too; a coating of toasted pecans or aromatic herbs can turn the mundane into the magnificent. Curious about how these elements combine to create a flavor explosion? Let's explore how to master the art of the cheese ball.
Versatility of Cheese Balls
Cheese balls are incredibly versatile, easily adapting to suit any palate or occasion. Whether you're hosting a festive gathering or looking for a comforting snack, infusing creative flavorings into your cheese ball recipe can transform it from simple to spectacular.
Think outside the traditional cheddar and cream cheese base; explore using smoked gouda or tangy goat cheese for a richer depth of flavor.
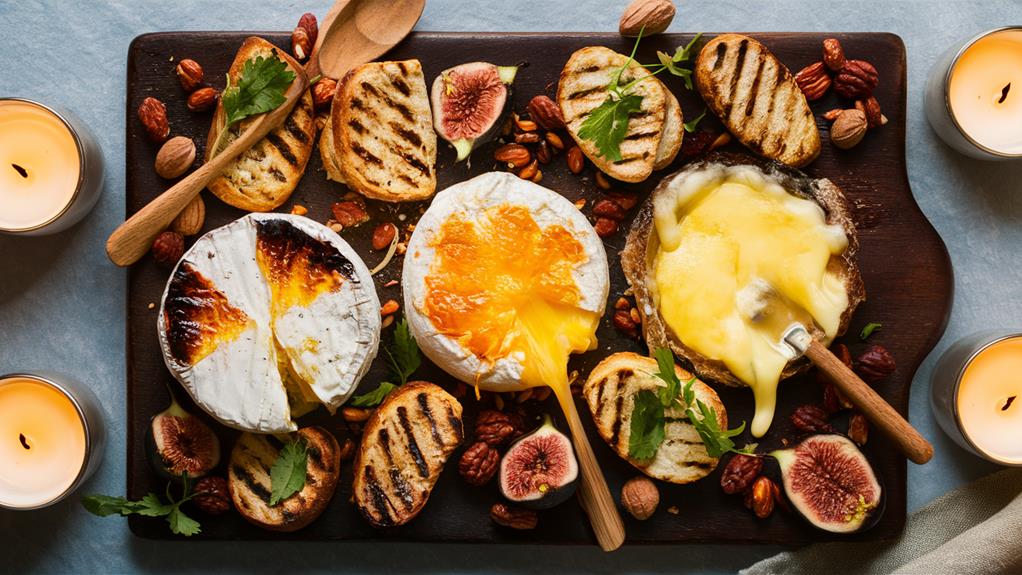
To truly tailor your cheese ball to the season, incorporate seasonal ingredients that complement the weather and local produce. In spring, mix in fresh herbs like dill or chives to add a burst of freshness. During the summer, blend in chopped basil and sun-dried tomatoes for a Mediterranean touch.
Autumn calls for ingredients like roasted garlic or pumpkin seeds, adding a warm, earthy tone. For a festive winter twist, mix in cranberries and pecans, then roll your cheese ball in crushed peppermint or spiced nuts.
You'll find that these additions not only enhance the taste but also transform the presentation of your cheese ball, making it a centerpiece at any table.
Softening Cream Cheese Basics
Before you begin experimenting with different flavors and ingredients for your cheese ball, it's important to master the art of softening cream cheese. Soft cream cheese blends more smoothly, ensuring your final dish has the creamy texture you're aiming for.
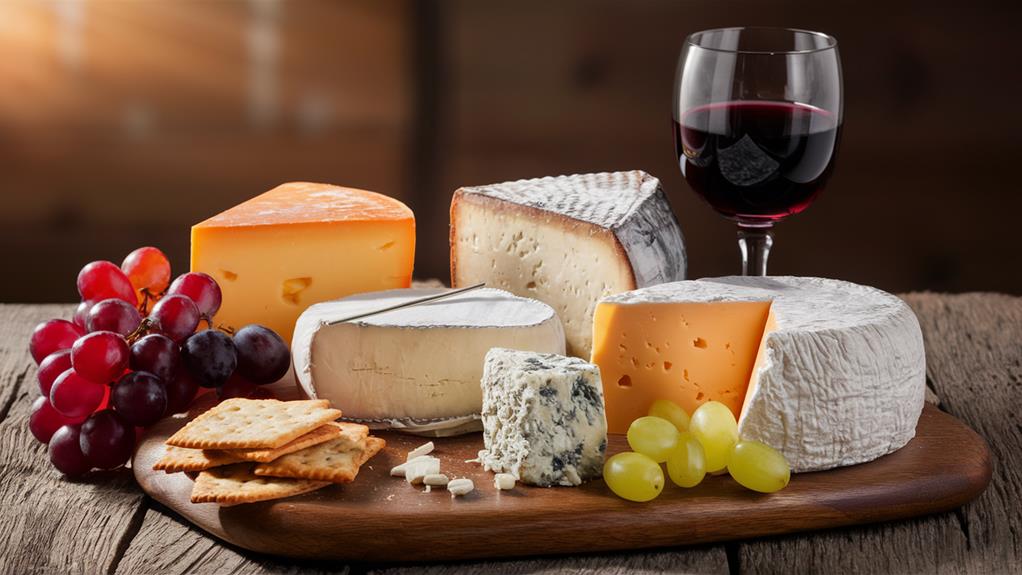
To start, choose from the many cream cheese varieties available. Whether you opt for full-fat, reduced-fat, or a flavored version, the softening process remains essential.
You'll find that leaving your cream cheese out at room temperature for about an hour is typically enough to soften it adequately. However, if you're short on time, you can cut the block into smaller pieces to speed up the process.
Another quick method is to place the cream cheese in a microwave-safe bowl and heat it on high for about 15 to 20 seconds. Just be sure not to overheat, as it can start to cook and affect the texture adversely.
Once softened, you're ready to add your flavor enhancements. Mix in spices, herbs, or sweet ingredients to elevate the taste.
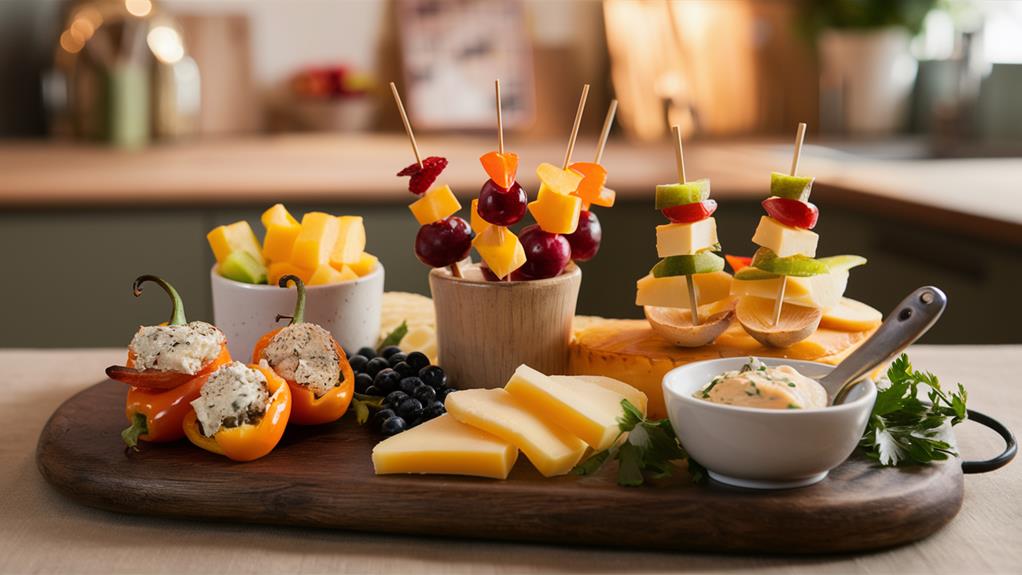
For an inspired twist, consider incorporating gourmet flavors like roasted garlic or smoked bacon, which can transform your cheese ball from bland to grand.
Choosing Quality Shredded Cheese
Selecting the right shredded cheese is essential when crafting a cheese ball that truly stands out. You'll want to contemplate the types of cheeses that not only melt well but also bring contrasting and complementary flavors to enhance the overall taste of your dish.
Start by exploring a variety of cheeses—think sharp cheddar for its boldness, mozzarella for a creamy texture, and perhaps a touch of smoked gouda for a hint of depth.
When choosing your cheese, don't just grab any pre-packaged option off the shelf. Look for quality brands known for their pure, rich flavors. Cheeses that are freshly shredded tend to retain more moisture and flavor, making them ideal for your cheese ball mixture. They blend more smoothly into the cream cheese, ensuring every bite is as flavorful as possible.

Contemplate the flavor pairings of your chosen cheeses with other ingredients in your recipe. A good rule of thumb is to pair strong with mild—balance a sharp, pungent blue cheese with a milder Swiss or gouda.
This contrast not only enhances the taste but also adds an exciting complexity to your cheese ball, turning a simple dish into a gourmet delight.
Forming Consistent Cheese Balls
Once you've chosen your ideal mix of shredded cheeses, it's time to focus on creating uniform cheese balls. Consistency in size and shape isn't just about aesthetics; it guarantees that each cheese ball delivers the same delightful burst of flavor and texture.
Start by using a small ice cream scoop or a tablespoon to measure out the cheese mixture. This technique helps you get consistently sized portions, which is vital for even cooking and presentation.

Now, let's talk about forming the actual cheese ball shapes. Lightly oil your hands to prevent sticking and roll the portions between your palms into smooth, even balls. You'll want to apply gentle pressure to guarantee the cheese sticks together without compacting it too much, which might make it dense and heavy.
Experimenting with different flavor pairings can also influence the size and form of your cheese balls. For instance, a robust mix like blue cheese and sharp cheddar pairs wonderfully when formed into smaller, bite-sized balls, allowing the intense flavors to shine without overwhelming the palate.
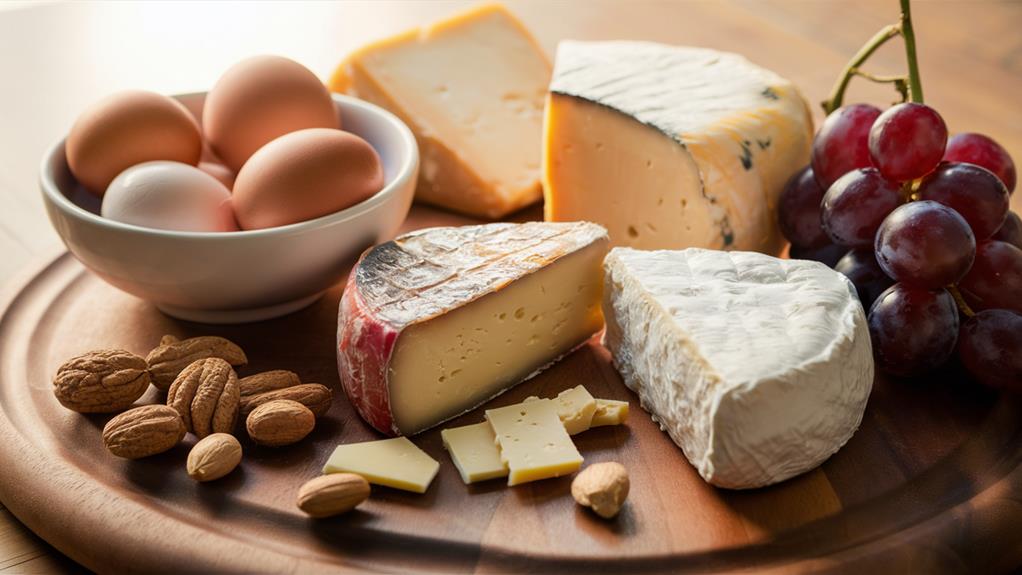
Adding Nut Coatings for Texture
Many cheese ball enthusiasts appreciate the added crunch that comes from rolling your formed cheese balls in crushed nuts. This simple step not only enhances the texture but also elevates the overall taste experience.
Let's explore selecting the right nut varieties and understanding flavor pairings that will make your cheese balls irresistible.
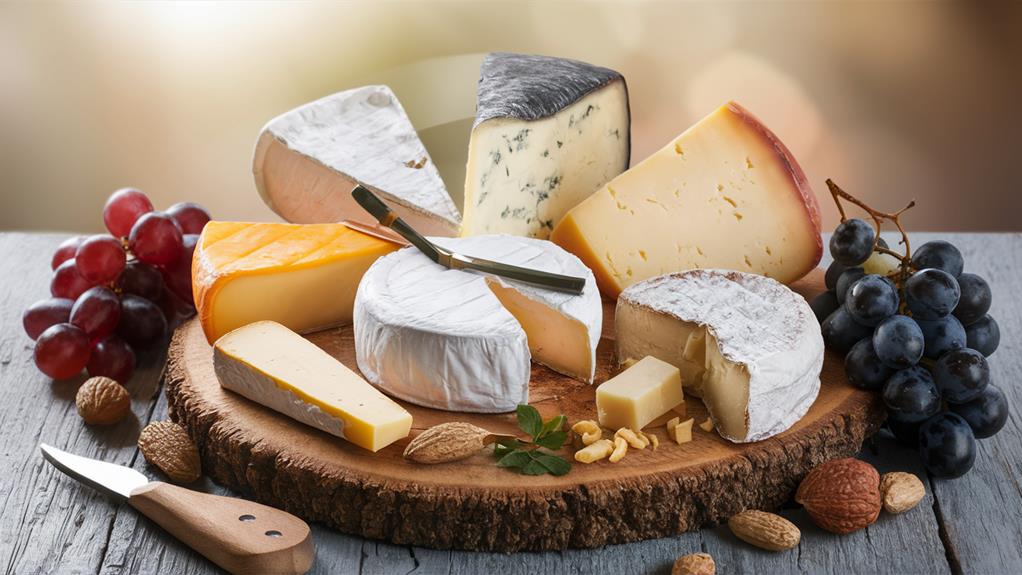
First, consider the type of cheese used in your ball. For a sharp cheddar, pecans offer a buttery contrast, while almond pairs wonderfully with a creamy goat cheese.
Don't shy away from experimenting with walnuts or cashews, which can stand up to bolder cheese flavors like blue or gouda.
To add another layer of flavor, toast the nuts before crushing them. This process deepens their natural oils and releases a rich aroma that infuses your cheese ball with an unforgettable character.
When it comes to combining these elements, think about complementary flavors. For instance, a hint of rosemary in your cheese mix goes beautifully with toasted walnuts, or try adding some dried cranberries to the mix for a touch of sweetness that balances the savory profile of your creation.
The Cheese Ball Chilling Process
After preparing your cheese ball, the next essential step is the chilling process. This isn't just about keeping it cool; it's about locking in those rich cheese ball flavors and ensuring the texture is perfectly firm for serving.
The ideal chilling time varies, but a good rule of thumb is to allow at least two hours in the refrigerator. This pause lets the flavors meld beautifully, transforming your mix into a cohesive, flavorful delight.
You might wonder if you can speed things up by popping the cheese ball into the freezer for a bit. While you're technically correct that this can firm up your cheese ball faster, it's risky.
Freezing can alter the texture, leading to a less creamy bite when it thaws. Instead, plan ahead and give your cheese ball plenty of time to set in the fridge.

Frequently Asked Questions
Can Cheese Balls Be Made With Non-Dairy Cheese Alternatives?
Absolutely, you can make cheese balls with non-dairy cheese alternatives.
You'll find a variety of dairy-free options that mimic the cheese texture needed for these balls. Experiment with different brands to see which melts and molds the best.
Nut-based cheeses, like those made from cashews, often work well. Adding ingredients for flavor, such as herbs and spices, will guarantee your cheese balls are just as delightful as traditional ones.
What Are Some Gluten-Free Options for Cheese Ball Coatings?
To make your cheese balls gluten-free, consider rolling them in crushed gluten-free grains, like quinoa or amaranth, for a crunchy texture.

You can also use finely chopped nuts or seeds for an added crunch. For extra flavor, mix in some flavorful herbs like dill, parsley, or chives before coating.
These ingredients not only enhance the taste but also keep your creation gluten-free and visually appealing, perfect for any gathering!
How Can Cheese Balls Be Incorporated Into a Vegan Diet?
To incorporate cheese balls into a vegan diet, you'll need to swap out traditional cheese for vegan cheese.
Choose a high-quality vegan cheese that melts well for a creamy texture. For flavor enhancement, mix in fresh herbs or spices into your cheese mixture.

Roll the balls in crushed nuts or seeds instead of breadcrumbs to keep it plant-based.
These tweaks not only maintain the delightful essence but also cater to vegan dietary preferences.
Are There Any Nut-Free Alternatives for Cheese Ball Coatings?
If you're looking for nut-free alternatives for cheese ball coatings, you've got plenty of options.
Consider rolling your cheese balls in herb coatings like chopped parsley, dill, or chives for a fresh, vibrant flavor.

Seed coatings, such as sesame or poppy seeds, also offer a delightful crunch and are safe for those with nut allergies.
These simple swaps guarantee everyone can enjoy a delicious, allergy-friendly treat at your next gathering.
What Wine Pairs Best With a Classic Cheddar Cheese Ball?
You'll want to pair your classic cheddar cheese ball with a wine that complements its richness.
Opt for a full-bodied red like Cabernet Sauvignon or a crisp white like Chardonnay. The red brings out the bold flavors of cheddar varieties, while the white contrasts nicely with the creaminess.

Always serve your wine at the right temperature: cool whites and slightly chilled reds to enhance the tasting experience.
Enjoy the combination at your next gathering!
Conclusion
Now you've got the secrets to elevate your cheese balls from bland to grand! Start with a quality cream cheese base, mix in your favorite shredded cheeses, and don't shy away from creative ingredients. Roll them in crunchy nuts to add that perfect texture. Remember, chilling is essential—it lets the flavors meld beautifully. So go ahead, whip up a batch for your next gathering and watch as your guests delight in each flavorful, textured bite!
_7.png)